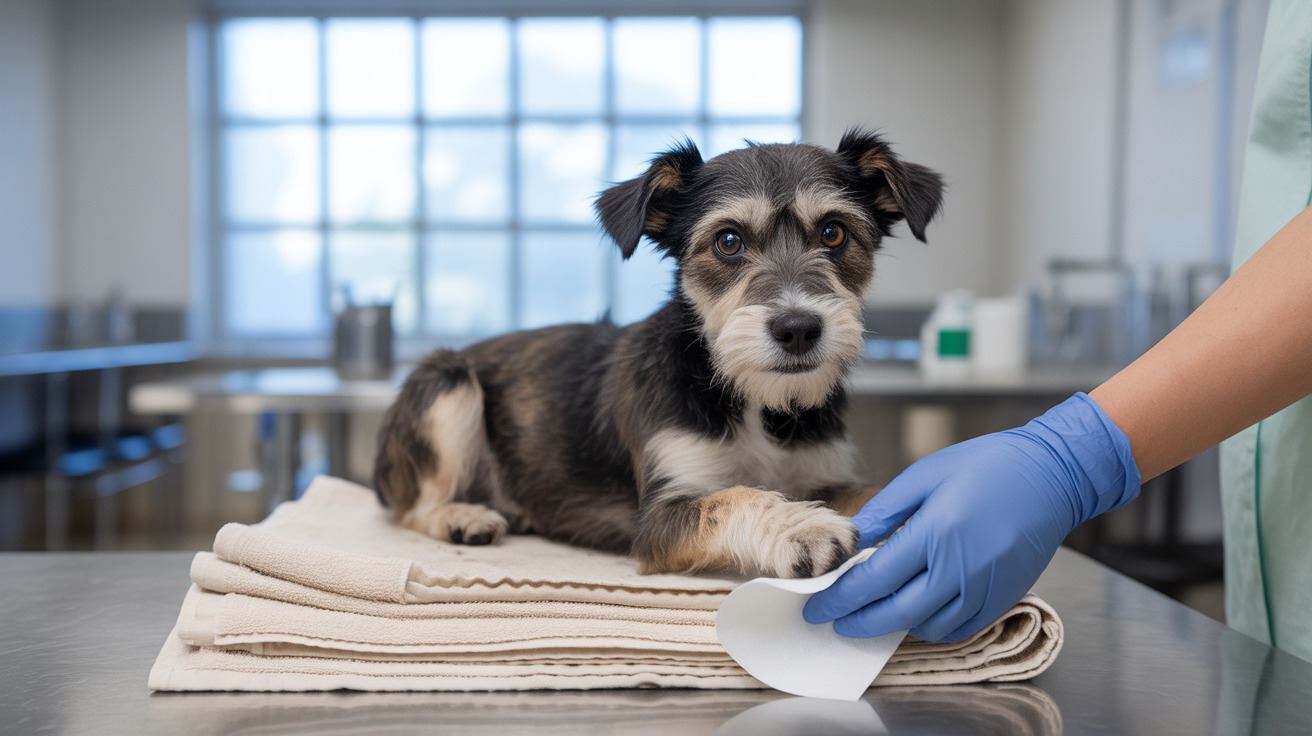
How to Make a DIY Cone for Your Dog at Home
A dog recovery cone, also known as an Elizabethan collar or e-collar, is a critical tool used to prevent pets from reaching and irritating wounds, surgical sites, or skin conditions. While commercial cones are widely available, not every dog tolerates them well due to issues like limited mobility, discomfort, and stress. Fortunately, there are several DIY dog cone alternatives that you can create using materials around your home, offering both functionality and increased comfort for your furry companion.
Why Use a DIY Dog Cone?
- Cost-effective: DIY options are more affordable compared to store-bought cones.
- Custom fit: You can tailor the cone to your dog’s specific size and needs.
- Comfort: Soft materials promote better mobility and reduce stress.
- Accessibility: Made from commonly available household items.
Materials You Can Use
- Towels or soft fabric
- Foam pipe insulation or pool noodles
- Sturdy paper or cardboard
- Plastic binders or flexible plastic sheets
- Duct tape or Velcro strips for fastening
Top DIY Cone for Dog Techniques
1. Towel-Wrap Cone
This is a quick and simple method for short-term use:
- Use a medium-sized towel and roll it lengthwise.
- Wrap it snugly (but not too tight) around your dog’s neck, like a neck brace.
- Secure the ends with duct tape or Velcro strips.
- Ensure the wrap is loose enough for normal breathing but firm enough to prevent reaching the wound.
Best for: Mild injuries, dogs calm by nature.
2. Foam or Pool Noodle Collar
- Cut a pool noodle into 4–6 pieces depending on your dog’s neck size.
- Slide them over a strong string or collar and tie it like a wreath around the neck.
- The rigidity of noodles prevents most dogs from turning their heads fully.
Best for: Dogs with torso or back injuries.
3. Soft Fabric Collar
- Use thick but soft fabric like fleece or an old sweater sleeve.
- Wrap layers around your dog’s neck until it's impossible for them to reach the wound site.
- Sew or fasten it with safety pins or Velcro.
Best for: Dogs easily stressed by hard materials.
4. DIY Cardboard Cone
- Cut a large circle from a sturdy cardboard piece and cut out a smaller circle in the center (for the neck).
- Snip one edge and curve the cardboard into a cone shape, adjusting for size and depth.
- Tape the overlap to secure the shape and use string loops or holes to tie it to your dog’s collar.
Best for: Short-term use after minor procedures.
5. Plastic Sheet Cone
- Use clear or flexible plastic sheeting (from report covers or storage materials).
- Follow the cone template used for cardboard and form a cone around your dog's neck.
- Secure using rivets, glue, or staples, then strengthen edges with soft fabric tape for safety.
Best for: Dogs that need visual clarity.
T-Shirt or Onesie Method
Particularly effective for wounds on the dog’s torso or upper legs:
- Use a snug baby onesie or small T-shirt.
- Put the shirt over your dog with their legs through the sleeves if needed.
- Make sure it's tight enough to stay in place but comfortable for movement and breathing.
- It covers the injury and discourages licking or biting.
Important Considerations
- Injury location: DIY cones are more suitable for body wounds; facial injuries may need commercial solutions.
- Supervision: Homemade devices may not be as secure—always monitor your dog.
- Material safety: Avoid sharp edges or materials that can fray or choke your dog.
- Veterinary guidance: Consult your vet to ensure the homemade solution is appropriate.
Signs Your DIY Cone is Working
- Your dog cannot reach or lick the wound or surgical site.
- They can eat and drink normally.
- No signs of stress, irritation, or rubbing.
- The cone remains securely in place during typical activity.
When to Use Ready-Made Alternatives
If DIY methods fail or are not secure enough, consider soft e-collars, inflatable collars, or body suits commercially available in pet stores.
Final Thoughts
Making a DIY cone for your dog can be an effective, affordable, and more comfortable alternative to rigid plastic cones. By customizing the solution to your pet’s personality, injury type, and comfort, you support healing while reducing stress. Always monitor your dog’s behavior and adjust or replace the device if necessary. And most importantly, when in doubt, check with your veterinarian to ensure your solution promotes safe and effective recovery.


