Essential Materials and Tools for Your DIY Cat Tree
Before beginning your project, gather these fundamental materials:
- 3/4-inch plywood for the base and platforms
- 2x4 or 4x4 lumber for support posts
- Sisal rope for scratching surfaces
- Carpet or soft fabric for comfort
- Screws, brackets, and wood glue
- Basic tools: saw, drill, screwdriver, staple gun
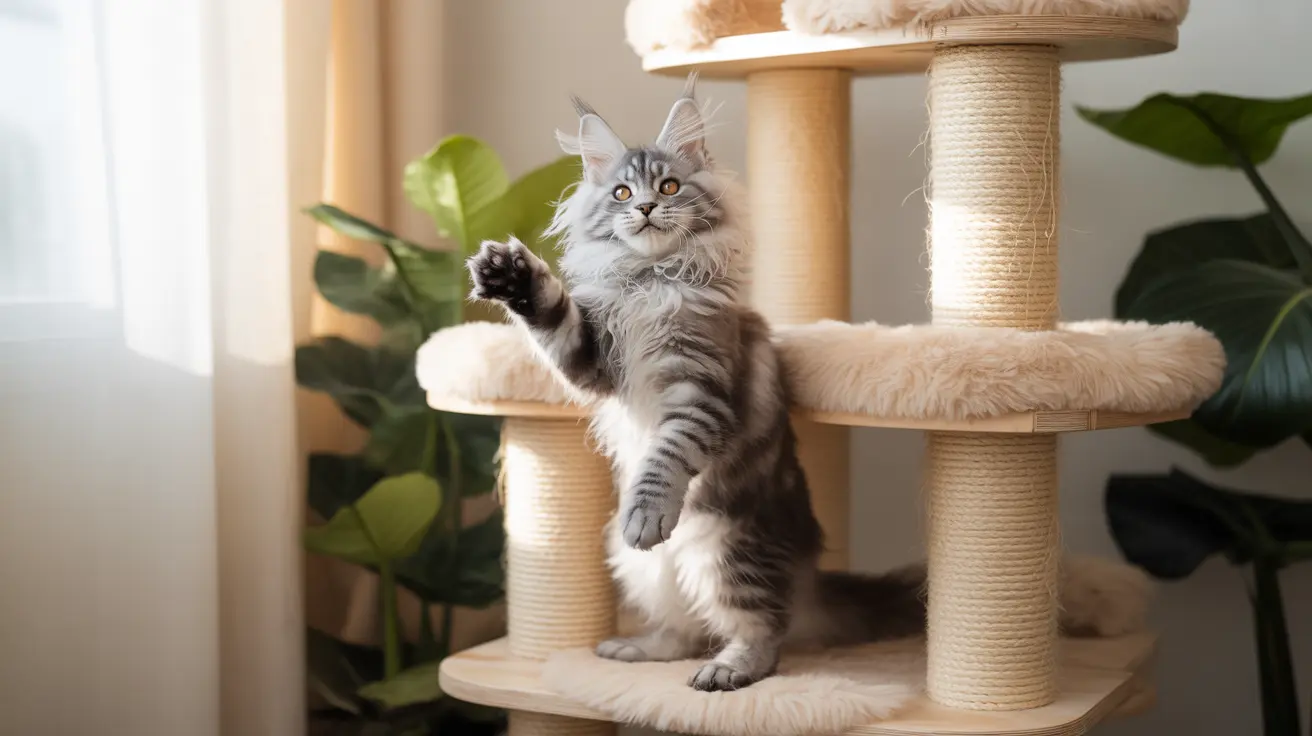
Designing Your Perfect Cat Tree
Start by considering your cat's preferences and your available space. A well-designed cat tree should include:
- Multiple platforms at varying heights
- Dedicated scratching posts
- Cozy hideaways or sleeping spots
- Stable base proportional to height
- Interactive elements like hanging toys
Construction Steps for a Basic Cat Tree
Creating a Solid Foundation
Begin with a sturdy base measuring at least 24x28 inches. Double-layer the plywood and secure it with wood glue and screws for maximum stability.
Building the Support Structure
Attach vertical posts using heavy-duty brackets and screws. Ensure all supports are perfectly vertical using a level before final securing.
Adding Platforms and Features
Install platforms at different heights, making sure they're securely fastened. Wrap posts with sisal rope and cover platforms with carpet for comfort and traction.
Safety and Durability Considerations
Safety should be your top priority when building a DIY cat tree. Consider these crucial factors:
- Use non-toxic materials and adhesives
- Sand all edges thoroughly
- Test stability before allowing cat access
- Ensure all parts are securely fastened
- Regular maintenance checks for loose components
Cost-Saving Tips and Material Selection
Building your own cat tree can save significant money compared to store-bought options. Maximize savings by:
- Checking hardware stores for discounted materials
- Repurposing old carpet or fabric
- Using recycled cardboard tubes for posts
- Buying materials in bulk for multiple projects
Frequently Asked Questions
How can I build a sturdy and safe DIY cat tree using plywood and sisal rope?
Start with a double-layered plywood base, secure vertical posts with heavy-duty brackets, and wrap posts tightly with sisal rope using a staple gun. Ensure all connections are reinforced with both screws and wood glue for maximum stability.
What materials and tools do I need to create custom cat tree plans at home?
Essential materials include 3/4-inch plywood, lumber for posts, sisal rope, carpet, screws, and brackets. Required tools are a saw, drill, level, screwdriver, staple gun, and measuring tape.
How do I design a multi-level DIY cat tree that fits my cat's space and climbing preferences?
Measure your available space first, then plan platforms at varying heights based on your cat's jumping ability. Include both high and low resting spots, and ensure platforms are large enough for your cat to lay comfortably.
What are the best placements for a cat tree in my home to keep my cat happy and active?
Place the cat tree near a window for outdoor viewing, in a corner for security, or in a room where your family spends time. Avoid placing it near heat sources or in direct sunlight.
How can I maintain and clean my DIY cat tree to ensure durability and cat safety?
Vacuum regularly to remove fur and debris, inspect all connections monthly, tighten any loose screws, and replace worn sisal rope or carpet as needed. Clean fabric surfaces with pet-safe cleaners.
Conclusion
Building a DIY cat tree is an achievable project that can provide your feline friend with years of enjoyment. By following proper safety guidelines and using quality materials, you'll create a sturdy, engaging structure that enhances your cat's daily life while saving money compared to commercial alternatives.